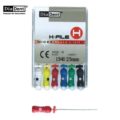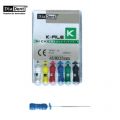

Dia-PT Rotary File – DiaDent
Instruction:
– Check the working length with X-ray.
to prepare the straight-line access to canal orifice.
– The D1 expands the glide path and enlarges to widen the coronal portion of canal. Always irrigate the canal with NaOCl before engaging the file. Gently work D1 until a smooth glide path is confirmed.
– The D1 into the canal and follow the glide path and laterally brush before light resistance is appeared. And cut dentin on the outstroke to improve straight-line access and apical progression.
– Continue shaping and brushing with the D1 until the depth of the #15 hand file is reached.
– Check the working length with the #15 hand file and Apex locator.
– The D2 enlarges to the apical 2/3.
– Use D1 or D2 until working length is reached with a brushing action.
– Confirm working length frequently as shaping the severely curved canals.
– Use D3 as an In-and-out Pecking Motion until the depth of the #20 hand file is reached.
– If the #20 hand file is loose at length, proceed to the
D4 with corresponding the #25 hand file.
– If the #25 hand file is loose at length, proceed to the
D5 with corresponding the #30 hand file.
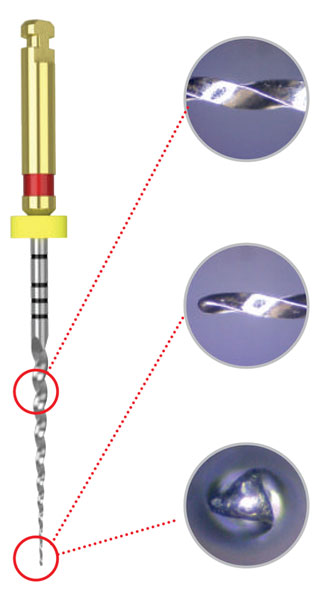
Superior Cutting Efficiency
– Allows stronger and more sharp blades to more deeper in the canal
– A triangular cross section reduces contact with the canal wall
High Flexibility
– Offers outstanding flexibility and reduces a user fatigue
– Has high corrosion resistance with a coated surface of files
Short Shaping Time
– Decreases total shaping time versus a traditional rotary technique
– Easily shape in calcified or highly curved canals
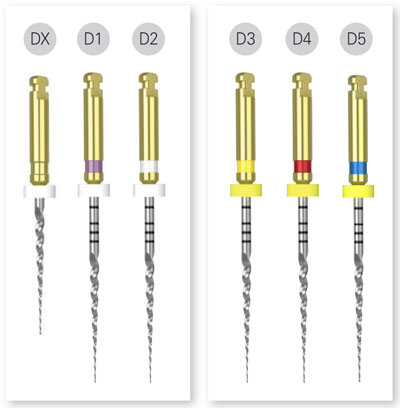
Color: D1:Purple, D2:White, D3:Yellow, D4:Red, D5:Blue
Size: DX, D1, D2, D3, D4, D5
Length: 25mm